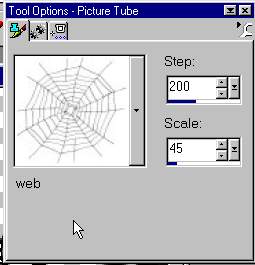
Click on the tube brush and pick web.
resize to 45 scale.

Add a layer just above the white background.
Add your webs to this layer.
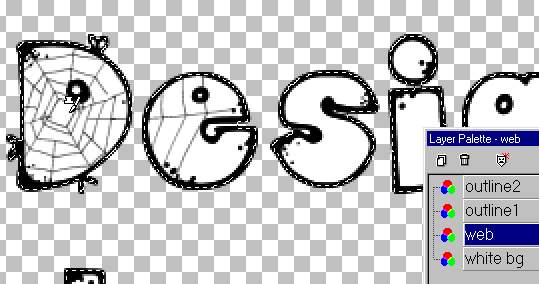
Like this

*Magic wand selects one side.

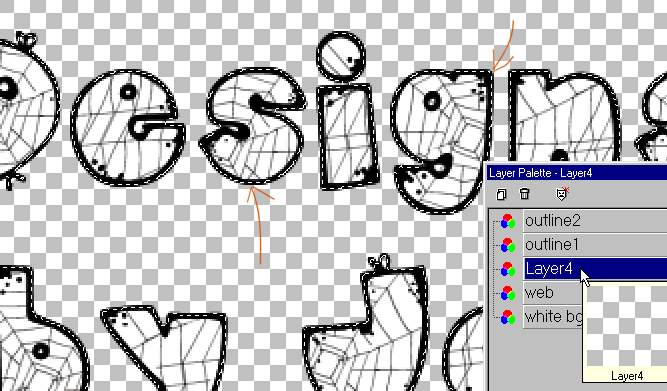
We want to select around the font to add the shadow to.
so, selections/select none. Click on the selection tool (Shown)
Box in the font text layer.

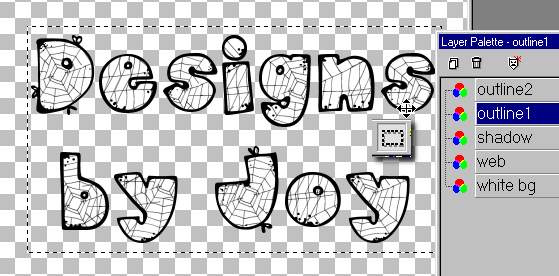
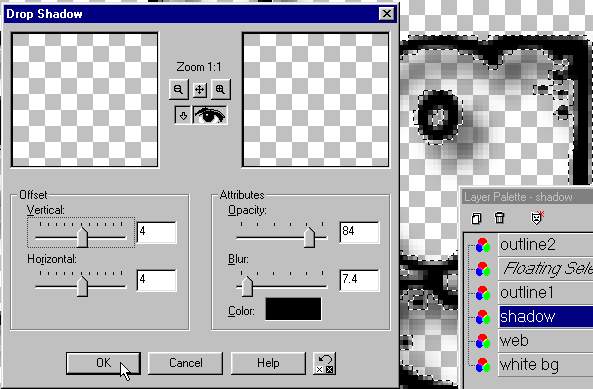
Click ON the text to select it and make a 'Floating Layer'
*Notice the selections tool selects both sides of the font.

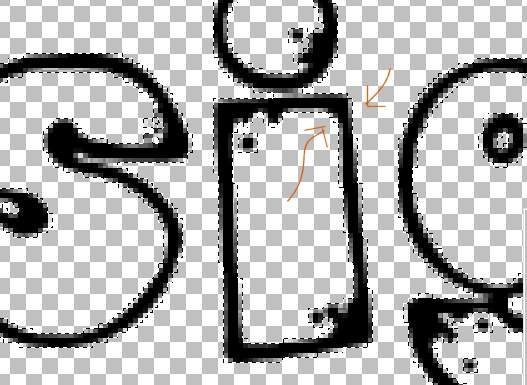
Add a deep shadow as shown.
*I X'd out the other layers so you could see the shadow.
You don't have to do that.

Next

Designer Tags @ A Glance 1 Designer Tags @ a Glance 2 Designer Tags @ a Glance 3 Designers Tags @ a Glance 4 DesignerTags @a Glance 5 DesignerTags @ a Glance 6 DesignerTags @ a Glance 7
The tutorials are Designed to follow in order from #1. Effects featured in early
tutorials are not explained in later tutorials.
Designer Tags @ A Glance 1 Designer Tags @ a Glance 2 Designer Tags @ a Glance 3 Designers Tags @ a Glance 4 DesignerTags @a Glance 5 DesignerTags @ a Glance 6 DesignerTags @ a Glance 7
The tutorials are Designed to follow in order from #1. Effects featured in early
tutorials are not explained in later tutorials. If you are brand new to PSP please click here
and do or at least look through the Beginner tuts. If you have trouble with a tutorial,
check out the tutorials preceding the one you are having issues with.